Hi all! I had a suggestion to blog on my Pineneedles designs since I have now completed two of the complete arrangements. I have some advice to keep you from having the various problems that I have had. You can also see a list of various notions that McKenna Ryan uses on her site
http://www.pineneedles.com/
1. Good quality batik fabric is the easiest to work with, has the most colour variation, and, frays the least. Batik has a higher thread count so when you are cutting the designs out you can get the very intricate detail without all the fraying. On McKenna Ryan's site
http://www.pineneedles.com/ you can download a chart with her fabric suggestions on it. They are 99.99% batiks and very helpful if you want to make the exact quilt that she did. I used this for both of my quilts to shop with. She also has her own fabric line out now so that you can get her colours exactly.
2. Use only Steam-A-Seam2 LITE fusible webbing. Regular Steam-A-Seam2 is great for big applique pieces but too heavey for such small pieces. On my first quilt I used a few different brands. Wonder Under just flakes off and makes it impossible to cut and attatch the very small pieces. Heat N'Bond is not something I like either. If you over-heat it it becomes hard and papery. You need to be able to iron the block SEVERAL times as you apply the pieces. Steam-A-Seam2 LITE has an almost plasticy type webbing that stays together.
3. Use a small mini-iron to attatch your pieces. You can't possibly lay down all those small pieces using a big iron. You WILL burn yourself (I know this from experience).
4. You will need some type of applique pressing sheet. Make sure you don't get the brown one as you will need to be able to see through it when you lay the placement diagram undernieth it. You cannot do without this item.
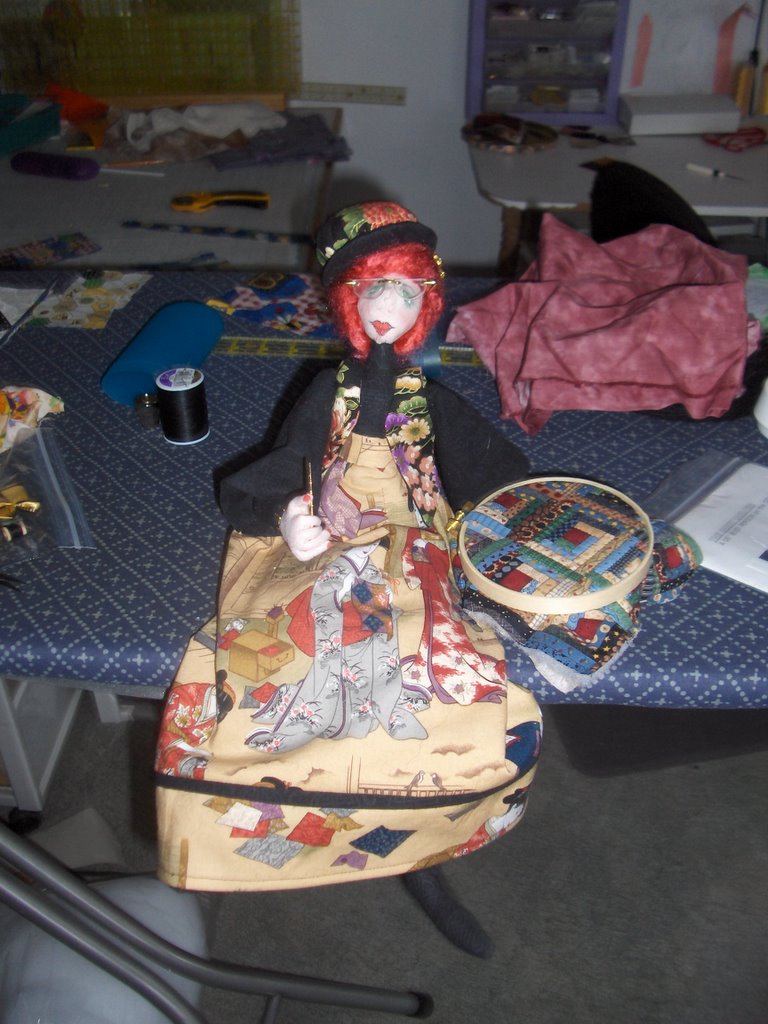
5. Use good sharp right to the point, spring-loaded scissors. I did my first block with regular scissors and my hand ached the next day. You will need good blades on the scissors to get good detail. I really like the fiscars scissors in the picture.
6. Get some iron cleaner to get the fusible webbing off your iron. Everyone has accidents :)
7. I use only Sew Art Invisible Nylon Monofilament thread. It comes in clear and smoke. Use the smoke on the dark areas you are appliqueing and the clear everywhere else. I will not use any other brand of nylon monofilament thread. It is the strongest, has the least shine and is recommended by both McKenna Ryan and Harriet Hargrave (good enough for me). Cheaper brands will yellow and break with age. As for polyester monofilament I use only Sulky or YLI; but, polyester has more shine than nylon so it's not as invisible.
8. Use Microtex 60/8 needles to applique with the monofilament thread. They have a sharp small point and they leave the smallest hole in the applique thus giving a neater finish. If you can't get Microtex Sharpes use Universal 60/8 needles.
9. Always "hollow out" you fusible webbing pieces before you put them onto the back on the fabric. When you are doing this type of design you will have many overlapping pieces and some of them will be very large. If you have multiple solid layers on top of each other your blocks will become stiff and be able to stand up by themselves. I put a sample of a "hollowed out" piece in the picture. You can see the fusible web on the back of the fabric; notice how the fusible only extends about 1/2" to 3/4" into the center of the block? This will make your quilt much softer.
10. Take your time choosing your fabrics!!! Fabric choice is everything in these quilts. There are so many beautiful batiks and hand-dyed fabrics out there that there is no reason to settle for something. Audition many different fabrics and have fun with it. Also, never buy your border fabrics until your quilt top is ready. I have never stayed with my first choice or even McKenna Ryan's choices. :) Let the centre of the quilt tell you what should be on the borders.
11. I quilt the quilt and applique at the same time. Yes I know that sounds daunting; but, What I do is fuse down all the pieces, sew the quilt top together, layer the quilt sandwich and then quilt and appliqe the quilt at the same time. I free-motion quilt 1/16" inside each and every applique piece. I have found that when I applique separately I was quilting over the same lines again and that felt like I was wasting my time. It is a bit harder to maneuver the whole quilt but if you take breaks and don't rush you will be fine.
12. I generally use 50 wt or 60 wt 100% cotton thread in the bobbin. I really like cotton but many people like polyester. The choice is yours.
13. Use machine quilting gloves. I really like Machingers. They give you greater accuracy when you quilt and your fingers won't get as tired.
I hope that you enjoyed this! If you have any questions please feel free to post a comment. I may have forgotten to add something that might help you.
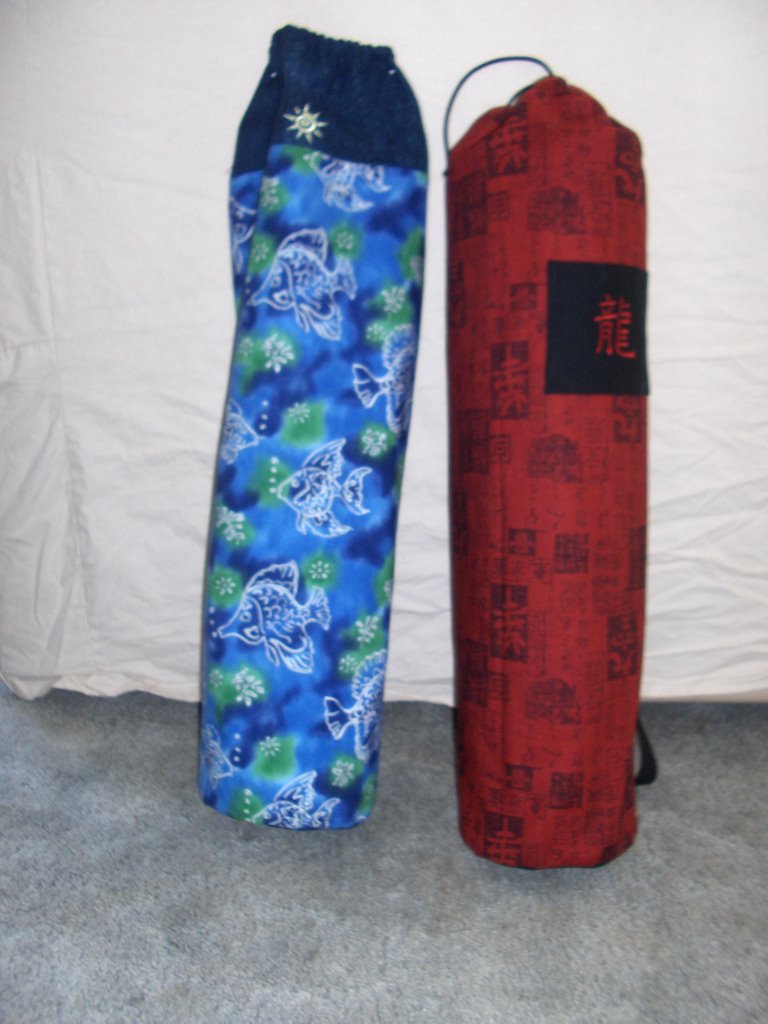
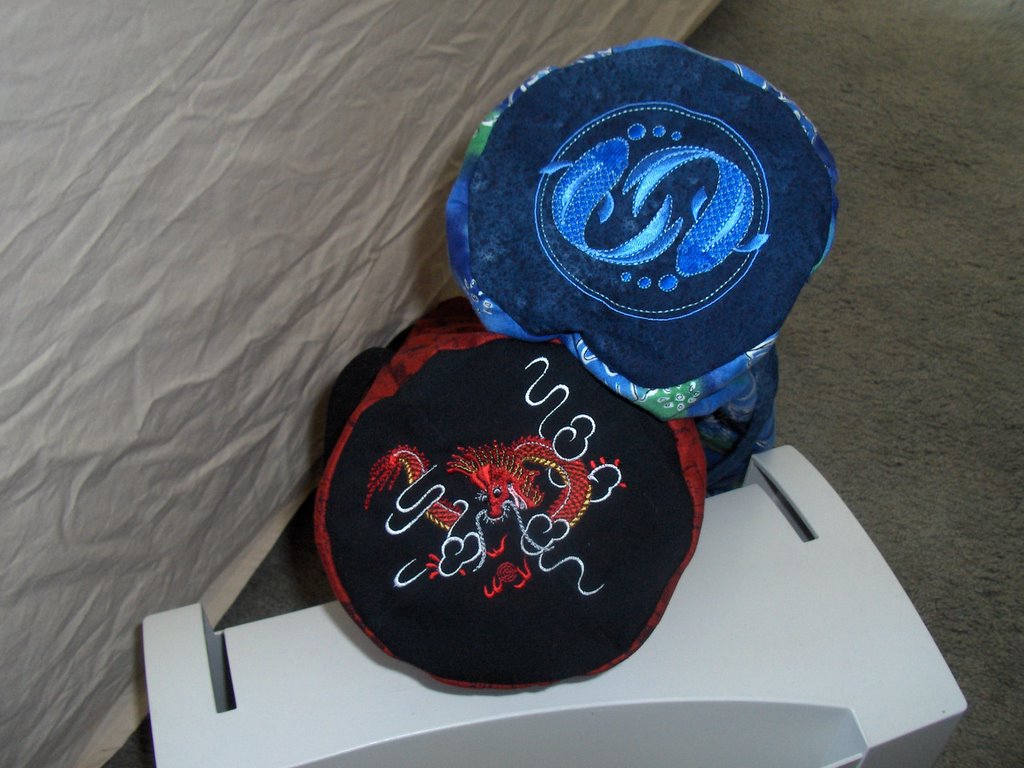 My friend came up this weekend and we spent practically the whole weekend planning and making yoga mat bags for her and another friend. You can see the bags here and the machine embroideries that we did on the bottom of the bags. I think that the embroideries add a really special touch. You can also see the little sun logo that I put on the bags incase I decide to make more. I really love them both and didn't want to give them up when they were finished. The rest of the weekend we spent planning and having a birthday party for my two boys. :)