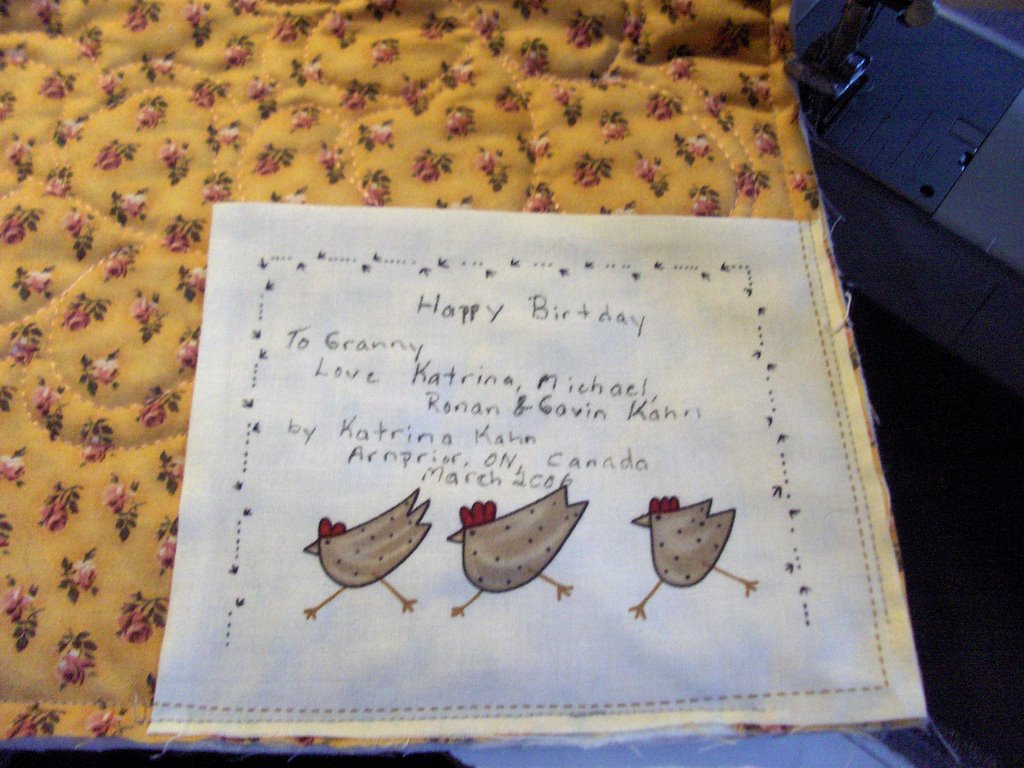
 Before you turn your binding to the back of the quilt you have a t least one more step. It is now time to add a label to you quilt. I like to enclose my labels into the binding of the quilt on two sides so that I have less hand sewing to do. I write with a Pigma pen on the back of the quilt who the quilt is for, who made , when and where. I always think that I am going to remember when I made something but I rarely do; and, 50 years from now people will wonder about the quilt.
Make sure that you don't sew around the whole corner when you attatch the label or you will sew into your mitre. You will then blind stick the label down on the remaining sides just like an applique.
If you are adding a hanging sleeve to your quilt you would do it at this stage. I will blog about that in a future blog.
 The next step is to turn your binding to the back. I like the finish of turing the binding to the back by hand the best. Yes, it does take some time and it is very repetative but I really like the finish.
Lots of quilters use straight pins to hold their binding at the back of their quilts but I really like these cheap barettes that you can get at the dollar store. Quilt stores do sell a "quilt" version of the same thing but these work just as well and cost a lot less. And, they come in cool colours!
Use a blind stitch again and stitch the binding to the back.
 When you get to the corners you will mitre them at the back as well. When you fold over the binding at the back make sure that you fold over the opposite side first. If you fold over the same side as the front first your corners will be lumpy. However, if you have it top-bottom bottom-top your corners will be smooth. IE if it is left on the bottom and right on the top then fold over right on the top and left on the bottom so that you will have opposites when you look at it. I hope that you can see what I mean from the picture. Try it and feel the corners and you will see what I mean. Take a couple fo stitches on both sides, stabbing through the corner, of the quilt to stitch down the corner and continue on to the next corner.
I hope that this was all fairly clear for you all! Please feel free to post your comments and questions.
In my binding series of blogs I was thinking of blogging on how to afix a hanging sleeve and how to put a flap or another embelishment into your binding. What do you think? Please let me know here what you would like to see and I will see what I can do.
Happy Quilting!


4 comments:
love this idea!! only 2 sides to stitch on the label? who woulda thunk it??
keep up the good work!
I'm loving your blog tutorials! I would love to see the hanging sleeve and flap/embellishment instructions.
I love the barrett clip idea! I have a few, but I'm adding them to my shopping list.
I'm adding your site to my favorites list!
I absolutely love this post about binding (and of course, the first part to this series on binding)
I am new to making quilts and the one I'm making for a friends little girls birthday calls for 'doublefold french seam binding' and I wasn't really getting what/how I was supposed to do this correctly.. I googled it and found these last two posts.. they are fantastic!! Four years later and your blog is still helping people like myself out! Thanks so much!!
Post a Comment