Well here is the post that I talked about doing in my last blog post. This is how I keep my top thread in one solid piece while I change my bobbin thread.
First of all you need to have many bobbins already wound before you start to quilt. Also, I have a sewing machine with a front load bobbin not a top loading. To change the bobbin on a top loading machine you need to remove the quilt from the machine and I want to change my bobbin without doing that and breaking the top thread. I know that there are some machines that you can wind the bobbin through the needle but you still need to break the top thread to do it.
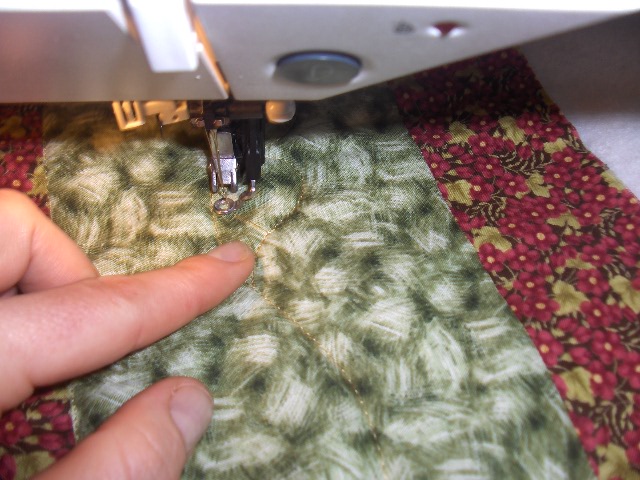 If you are blessed with a sewing machine that has a low bobbin sensor you get a pretty fair warning of when your bobbin is about to run out. If you do get yourself into a place that it unobvious in your quilt. You can see here that I stopped right where the thread doubles up in the feather quilting. If you can, lock off your stitches with several short stitches. When you run out of bobbin thread keep you quilt where it is on the machine but give yourself a little bit of slack on the top thread. Your needle needs to be in the up position.
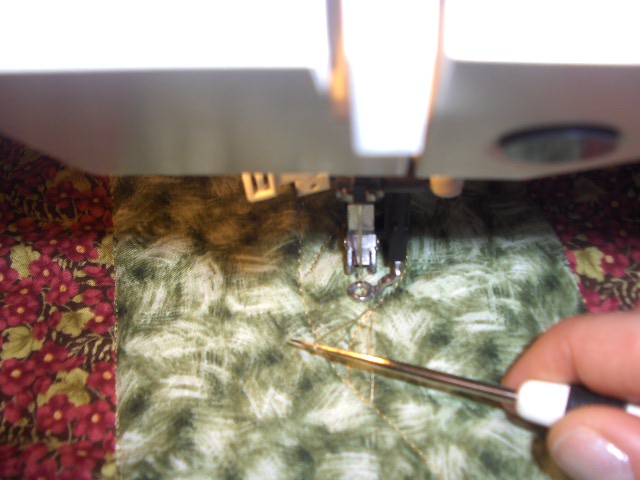
 Remove your bobbin case from the machine. Pull the excess bobbin thread to the top of your quilt to get it out of the way and so that it won't make a nest on the back of your quilt. You can see here that I use my stiletto to pick up the thread loop from the top.
At this point put in your new bobbin.
 Hold on to the old bobbin thread. Find where you left off your stitches and make sure that there isn't any slack on the top thread. Take one complete stitch to loop your top thread with your new bobbin thread. Now, still holding on to the old bobbin thread, use your stiletto again to pull the new bobbin thread tail to the top. This may take a couple of tries.
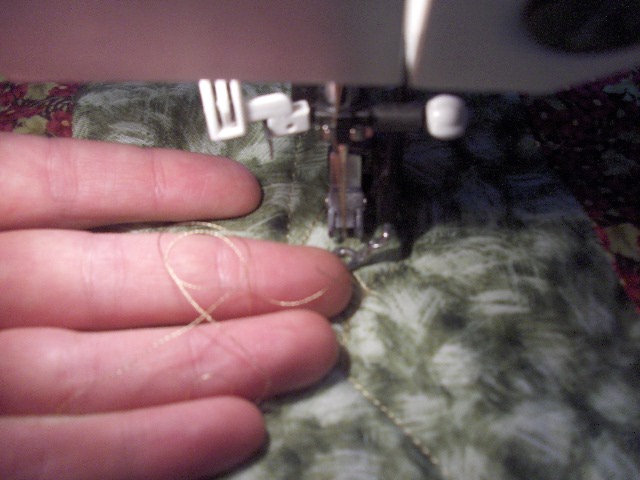 You can see here that I now have both bobbin thread tails in my hand. I carefully find where I left off my stitching and go back a couple of stitches. Now lock off your stitches again by doing a series of very small running stitches. Stop in a bit and trim the two tails. You now have a seamless line of quilting without any nests on the underside and without any visible stops and starts on the top or bottom.
Sorry these pictures are so bad :( It was hard to take these pictures by myself but I hope that they help to explain my method. I may not be the only one that does it this way but it works for me :)
If you have any questions or comments please feel free to post them here.


4 comments:
thanks for the lesson. just when i thought there wasn't much more to learn i read your post! for now i have a top loading bobbin, but if that changes your lesson will come in handy :)
Interesting lesson! I, too, have a top loading bobbin, but I'll bet there is some way to compensate for that!
Thank you for your comments. It may be possible to do this with a top loading bobbin but you would have to get yourself right under your quilt and right by the needle to do it. You would also have to pull up a lot of slack top thread back through the needle to the thread area and that's not good to do to your machine as it pulls lint back into the machine. A little bit is fine but not a foot or so :) HTH
Thank you for the lesson. I will try this when I start quilting my next piece.
Post a Comment